Bringing the Ocean to Life: A Complete Guide to Sea Turtle 3D Shadow Box Paper Cutting
Hello, crafters! Whether you are a seasoned paper artist or someone picking up an art knife for the first time, there is something truly magical about transforming flat sheets of cardstock into a dimensional world. Today, we are diving deep into the serene beauty of the ocean with a Sea Turtle 3D Shadow Box Paper Cut. This project is more than just a craft; it is an exploration of layering, light, and patience that results in a stunning piece of wall art or a glowing light box.
In the realm of modern DIY and home décor, shadow boxes have surged in popularity. They offer a bridge between traditional papercutting and contemporary interior design. The specific template we are discussing today is a layered, square design featuring a majestic sea turtle. It serves as a perfect case study for understanding how digital design files translate into tangible, physical art. Let's explore what makes this project significant, how to execute it perfectly, and why it fits so beautifully into our creative lives.
Understanding the Art of Layered Papercutting
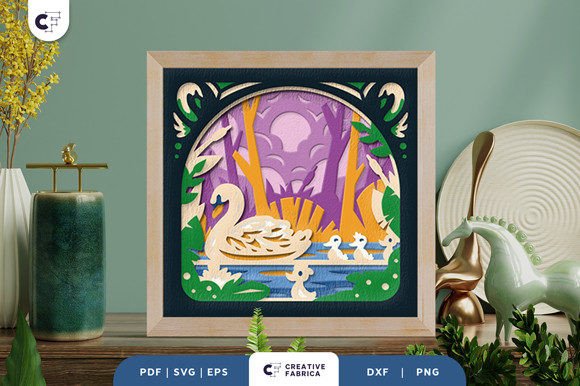
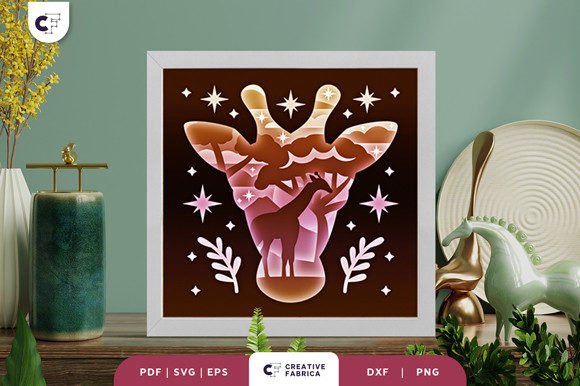
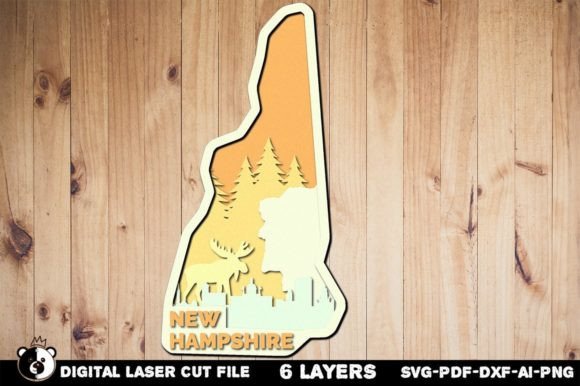
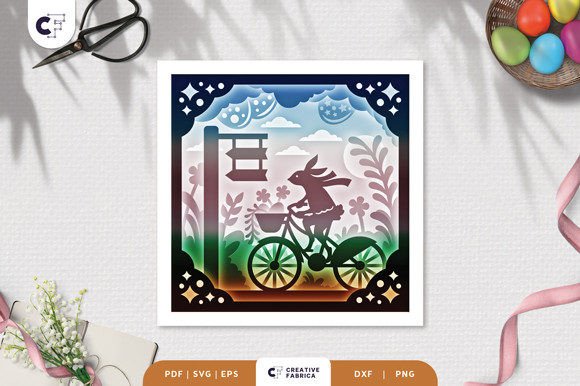
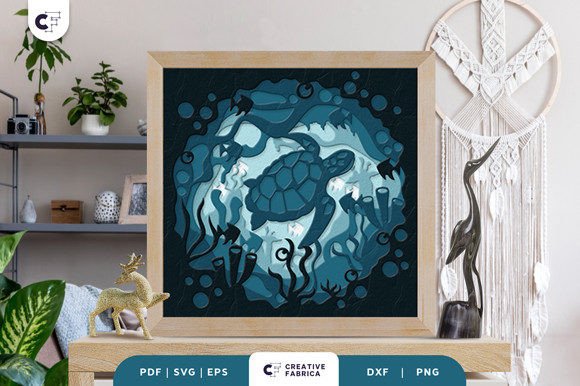
At its core, a 3D shadow box is an exercise in depth perception. Unlike a standard drawing or a single-layer cutout, a shadow box relies on the strategic stacking of multiple layers to create the illusion of three-dimensionality. The Sea Turtle 3D Shadow Box template consists of 6 distinct layers. Each layer represents a different plane of the image, from the foreground elements like seaweed or coral to the mid-ground turtle, and finally, the background ocean depths.
The significance of this technique lies in how it manipulates light and shadow. When light hits the edges of the cut paper, it casts soft shadows onto the layer beneath it. These shadows are not mistakes; they are essential components of the artwork that define the contours and volume of the subject. For beginners, this concept can be slightly confusing. You might wonder why the layers look disjointed when laid out flat. However, once assembled with precise spacing, these disjointed shapes merge visually to form a cohesive, lifelike scene.
This method of crafting connects us to a long history of paper art, from Chinese Jianzhi to German Scherenschnitte, but updates it for the modern maker through the use of digital cutting machines and high-quality cardstock. It allows anyone to create gallery-worthy art without needing advanced drawing skills, provided they have a good template and steady hands.
The Technical Specifications: What You Need to Know
Before diving into the assembly, it is crucial to understand the tools and materials that make this project successful. The template in question is designed with versatility in mind, catering to both tech-savvy crafters with cutting machines and traditionalists who prefer hand tools.
File Formats and Compatibility
The design is available in a comprehensive suite of file formats: SVG, PDF, EPS, PNG, and DXF. This variety ensures compatibility with almost any workflow:
- SVG and DXF: Ideal for users of Silhouette Cameo, Cricut Explore/Maker, and other CNC cutting machines. These vector files allow the machine to read the cut lines precisely.
- PDF and EPS: Perfect for printing at a professional shop or tracing by hand. These formats maintain high resolution regardless of scaling.
- PNG: Useful for previewing the design or using in digital mockups before committing to paper.
Dimensions and Scaling
The standard size for this template is 20.32 × 20.32 cm (approximately 8x8 inches). One common misunderstanding among beginners is the concept of resizing. While SVG files can be resized to fit different frames, it is imperative that you keep the same aspect ratio. Distorting the image by stretching it horizontally or vertically will misalign the layers, causing the final assembly to look skewed. If you wish to make the project larger, simply scale it up uniformly.
Materials Matter: The Role of Cardstock
The difference between a mediocre shadow box and a professional-looking piece often comes down to the paper. For this Sea Turtle project, the recommended material is Encore Cardstock 80 lb cover (216 gsm). Why is this specific weight important?
Paper that is too thin (like standard printer paper) will warp when glue is applied and will not hold its shape against the tension of the spacer tabs. Conversely, paper that is too thick may be difficult to cut cleanly, especially with intricate details found in the turtle's shell or surrounding marine life. The 80 lb cover weight offers the "Goldilocks" zone: it is sturdy enough to stand upright and cast defined shadows, yet flexible enough to be cut smoothly by blades or machines.
Using high-quality cardstock also affects the color vibrancy. As noted in the product details, actual final product colors may vary slightly due to lighting sources and paper texture. Choosing a reputable brand ensures that the whites remain crisp and the colors (if using pre-colored paper) remain true to the design intent.
Assembly: From Flat Sheets to 3D Masterpiece
Assembling your Sea Turtle shadow box is a meditative process. Whether you used a Cricut machine to cut your pieces in minutes or spent hours carefully maneuvering an art knife and scissors, the assembly phase requires patience and precision.
- Organize Your Layers: Lay out all six layers in order. Most templates include numbering or guides to indicate which layer goes on top. Ensure all loose "islands" (pieces of paper completely surrounded by cut space) are removed or secured, depending on the design style.
- Apply Adhesion: You will need glue or double-sided tape. Foam adhesive squares are highly recommended for creating the gap between layers. Apply these to the back of each layer, focusing on the corners and structural points where the paper needs support.
- Stack with Care: Start from the background (Layer 1) and work your way forward. Align the registration marks or corners perfectly. Press down gently to secure the bond without crushing the foam spacers.
- Framing: Once all six layers are stacked, the unit is ready to be placed in a deep-set frame. A standard photo frame will not work; you need a shadow box frame with enough depth to accommodate the stacked paper without compressing the glass against the top layer.
Versatility in Display: Wall Art vs. Light Boxes
One of the most exciting aspects of this project is its dual potential for display. You can create a traditional framed wall decoration that relies on ambient room light to cast natural shadows. In this setting, the artwork changes throughout the day as the sun moves across the room, altering the depth and mood of the sea turtle scene.
However, for a truly spectacular effect, consider transforming your creation into a light box. By adding LED strips between the layers during the assembly process, you illuminate the negative spaces and make the colors of the cardstock glow. This is particularly effective for ocean themes, as the light mimics sunlight filtering through water. The translucent quality of the 216 gsm cardstock allows just enough light to pass through, creating an ethereal, underwater atmosphere. This variation makes the piece an excellent night light or a focal point in a dimly lit room.
A Meaningful Gift for Any Occasion
Beyond personal décor, a handmade 3D shadow box carries significant emotional weight as a gift. In an era of mass-produced items, giving something you have crafted by hand demonstrates thoughtfulness and effort. The Sea Turtle design, symbolizing longevity, navigation, and protection, makes it a profound gift for friends, family, or someone special celebrating a milestone.
Whether it is for a housewarming, a birthday, or a gesture of sympathy, the universal appeal of nature-themed art ensures it will be cherished. The ability to customize the color scheme by choosing different cardstock shades further personalizes the gift, allowing you to match the recipient's home décor or favorite colors.
Conclusion: Embracing the Creative Process
The Sea Turtle 3D Shadow Box Paper Cut is more than a template; it is an invitation to explore the intersection of technology and traditional craftsmanship. It teaches us about spatial relationships, the importance of material selection, and the joy of slow, deliberate creation. Whether you are utilizing a high-tech Silhouette machine or relying on the simple precision of scissors, the end result is a testament to your creativity.
As you embark on this project, remember that perfection is not the goal; expression is. Slight variations in your cutting or gluing add a human touch that machines cannot replicate. So, gather your Encore Cardstock, fire up your cutting machine or sharpen your blade, and bring the ocean to life in your own home. Happy crafting!